And just in case anyone is interested in using the Paint program, having done File New and File Properties as mentioned in my previous post, the next step is to click on Home on the menu bar, then click on the word Brushes and a drop down menu should appear. To get started, choosing the one that is lowest down on the drop down menu is good, choosing it by clicking on it. This is the watercolour brush.
A black filled circle should appear on the white canvas, this can be moved around, without making a mark, using the mouse or trackpad.
Unless you want to use black paint, move the filled circle to the right and up, and when the filled circle goes off the canvas, it turns into the pointer,
Move the pointer onto the colour palette and click on a colour of your choice, and then move the pointer back onto the canvas, where a filled circle filled with that colour should be being displayed, yet not marking the canvas.
Remembering that the canvas is 5.25 inches tall, regardless of how big it is actually shown on the screen, move the filled circle over to the left, in a bit from the edge and around one and a half to two inches up from the lower edge of the picture, that is, about a third of the way up the canvas from its lower edge.
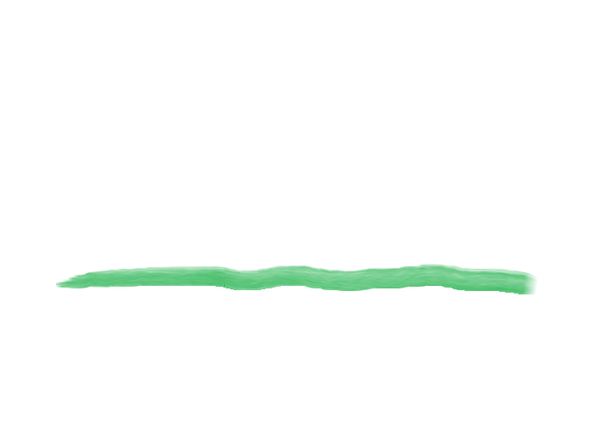
Click on the mouse and hold down and then drag across the screen to the right, then release the mouse button.
If you don't like the result, then using CTRL Z on the keyboard will delete it and you can try again if you wish.
The result I got is shown. I have been able to conserve what I produced by using File Save and I saved as a png file. The png means Portable Network Graphics.
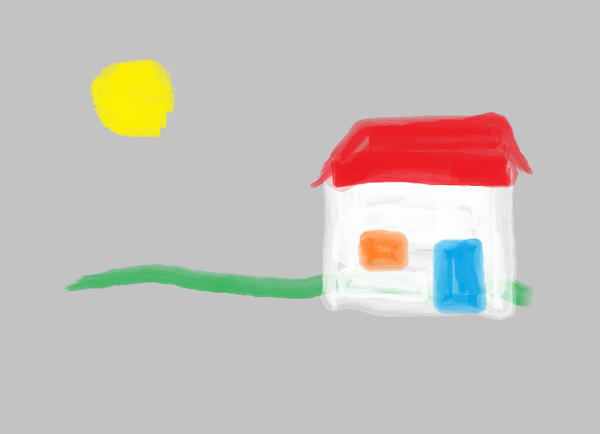
Then one can gradually build up a picture by choosing different colours and drawing different lines.
One does not necessarily need to start off with a white canvas, it is possible to change the colour of the canvas before starting to paint a picture.